How to Make Custom Clothing in Heartopia
While Heartopia builds upon the simplicity and fun of a life-sim through its various activities and hobbies, there’s one that stands out from the rest, and that’s the ability to create your own unique clothes to express yourself in the world with your creativity.
As you play Heartopia, you eventually get the option to sew your own clothes instead of just wearing what the game gives you. However, this feature is not available right away and takes a bit of progress to unlock. This guide explains how to unlock custom clothing and start making your own outfits in Heartopia.

How to Earn Contribution Medals in Heartopia
Contribution Medals are key to leveling up your D.G. in Heartopia. Here’s how to earn and use them.
How to Unlock Custom Clothing in Heartopia

The custom clothing feature is unlocked once players reach D.G. level 14. Once you’ve reached the level requirement, talk to Ka Ching and purchase a drawing board for 2,000 Gold from her shop. After the purchase, a brief tutorial on painting will be provided, but we’ll explain the basics below so you can make custom clothes.
How to Make Custom Clothes in Heartopia
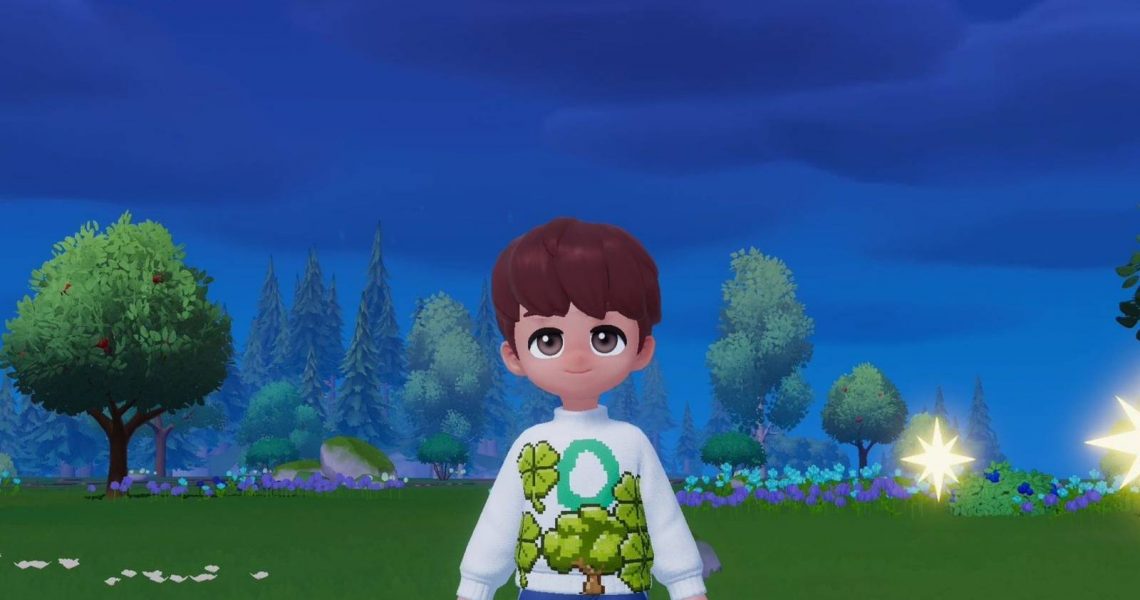
Once you have the drawing board, you can place it anywhere in town. After placing it, choose the size of your canvas and start designing. If you just want to paint for fun, you can pick any canvas size. But if your goal is to make custom clothes, you will need to select the clothing item you want to design. You can create different items like sweatshirts, baseball caps, and more.
Heartopia players can either make their own designs from scratch or use one of the pre-made designs. There are elements like candies and trees that you can add to make your artwork look nicer. To use these pre-made items, you will need to select the last option on the left panel.
If you prefer drawing everything yourself, just pick a color and adjust the pencil thickness, then start drawing. And if you make a mistake, don’t worry. You can easily undo it by clicking the left arrow at the top.

Once you finish the front, move on to the back and other parts of the clothing item. When everything looks good, players can tap the camera icon next to the arrows to save the design.
After that, you will need to go to any workbench. You’ll notice a shirt and scissors icon there. Select it, choose the clothing item you just designed, and you’ll see all the saved designs for that item. Now all that’s left is to sew it by paying Tailoring Tickets. If you don’t have enough tickets, you can use Moonlight Crystals instead.


- Released
-
January 8, 2026
- Developer(s)
-
XD
- Publisher(s)
-
XD
- Number of Players
-
Single-player
- Steam Deck Compatibility
-
Unknown