Best Armour Piercing Rounds Mercenary Build in Path of Exile 2
Leveling up a Crossbow-wielding Mercenary in Path of Exile 2 can be pretty confusing for first-timers. Crossbows play unlike every other weapon type in the game, and despite being fairly slow in the beginning, they can be just as fast and powerful as every other weapon. The following is a build for the Mercenary class in PoE 2 that uses Armour Piercing Rounds as one of its main damage tools, letting players mow down hordes of enemies while leaving enough space for a variety of single-target damage options for bosses and other tanky targets.

Path Of Exile 2: Best Skill Gems For Mercenary Builds
The Mercenary can be a force to be reckoned with, should players pick the best skill gems to optimize their builds in Path of Exile 2.
Best Armour Piercing Rounds Mercenary Build in PoE 2

|
Skill |
Support Gems |
|
|
Chain I Armour Explosion Bleed I |
|
|
Close Combat I Deliberation |
|
|
Multishot I Adhesive Grenades I |
|
Herald of Blood |
Any |
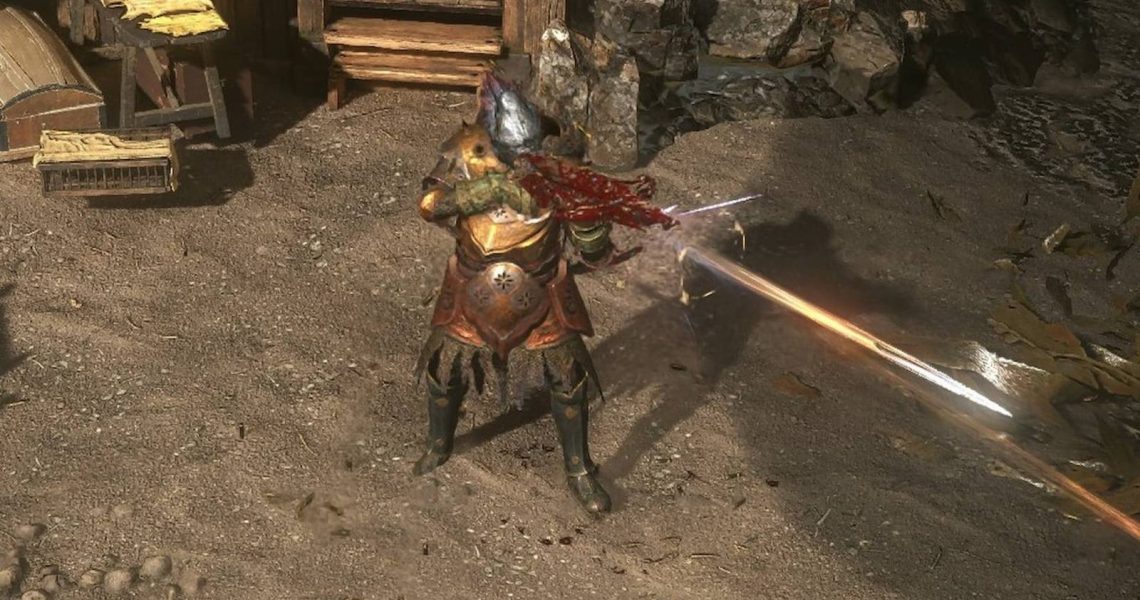
 Armour Piercing Rounds
 High Velocity Rounds
 Explosive Grenade
Armour Piercing Rounds (APR) is a weak skill by itself. It does little damage and hits only one target at a time. However, with the right support gems and synergies, this skill becomes very powerful at all stages of the game.
Players will absolutely need Chain and Armour Explosion to make APR a decent clearing skill. Not only will this let your bolts hit more than one enemy at once, but every time you break a target’s armor, they’ll also explode, dealing even more damage to them and any other nearby enemy. Once you increase your support gem slots, equip a Bleed gem and use Herald of Blood for even more AoE damage.
With enough attack speed and a Crossbow with high Physical damage, APR becomes powerful enough even for late-game mapping.
What About Single Target DPS?
Armour Piercing Rounds alone won’t be enough for fighting bosses, which is why we’re using High Velocity Rounds (HVR) and Explosive Grenade. The former is great for sniping enemies with Fully Broken Armour, while the latter does amazing burst damage against anything caught in the blast.
How to Play The Build

Armour Piercing Rounds does a good job at clearing mobs. Just hold down the trigger and laugh as everything explodes. However, when a Rare enemy or boss appears, you’ll need to use High Velocity Rounds and Explosive Grenades too.
First, break your target’s armor with APR, then launch Explosive Grenades. Before the grenades can detonate, hit your target with HVR to apply Riven Armour, which will let your grenades deal bonus damage based on HVR’s damage. While Riven Armour is active, all of your hits will deal bonus damage, so don’t be afraid to pelt your target with APR while the debuff is still there.
Armour Piercing Rounds Endgame Build

The following is our WIP build for our level 73 Witchhunter, which is capable of comfortably clearing Tier 8 maps as of writing.
|
Skill |
Support Gems |
|
|
Chain I Armour Explosion Heft Bleed III Brutality III |
|
|
Heft Close Combat II Deliberation Projectile Acceleration III |
|
|
Fire Attunement |
|
|
Multishot II Adhesive Grenades II Fire Attunement Rapid Attacks II |
|
|
Prolonged Duration |
|
War Banner |
Any |
|
Herald of Blood |
Any |
 Explosive Shot
 Emergency Reload
The endgame setup remains mostly the same. You’ll still be using APR and HVR for the vast majority of fights, but you should now have access to Explosive Shot, which will serve as a Detonator for your Explosive Grenades. When fighting bosses, break their armor and apply Riven Armour, then use Explosive Shot and Explosive Grenades for big burst damage.
Emergency Reload and War Banner are strictly for boss fights. Use them together before using High Velocity Rounds to apply Riven Armour. This will make Riven procs hit much harder, perfect for fighting and farming PoE 2 bosses.
The Rampart Raptor Setup

An alternate way to go about boss-killing with this build is to use  Rampart Raptor, a Unique Crossbow that gives you unlimited ammo for 6 seconds after reloading. We use this with Fragmentation Rounds supported by attack speed gems so we can trigger Riven Armour as quickly as we can.

To use this setup, you’ll need to equip Fragmentation Rounds and make it so that only Rampart Raptor uses it. To do this, open your Skills menu, then look for Fragmentation Rounds. Expand the info window, then at the bottom of the info screen, leave only Rampart Raptor’s weapon set checked. Make sure to use both Crossbow Shot 1 & 2 skills on your skill bar so you can smoothly swap between weapons.
You only need two support gems for Fragmentation Rounds:
- Streamlined Rounds gives you 50% more attack speed
- Rapid Attacks III gives you 35% increased attack speed
Your damage will come from the Riven debuff’s procs, so it’s fine even if you lose flat damage on Fragmentation Rounds.
In PoE 2, “more” refers to multiplicative increases, while “increased” refers to additive increases. In this case, Rapid Attacks III will increase your base attack speed by 35%, while Streamlined Rounds will increase your total attack speed by 1.50x
Passive Tree and Ascendancy

We’ll be using the Witchhunter Ascendancy for the Culling Strike and Decimating Strike effects. APR’s on-hit damage is quite low, but by taking these passives, your clear speed will speed up considerably. Once you get your last four Ascendancy points, go for Obsessive Rituals and Ceremonial Ablution for Sorcery Ward, which will keep you from getting instantly killed.

Priority Notable Passives
- Adrenaline Rush
- Rapid Reload
- Spray and Pray
- Run and Gun
- Curved Weapons
- Overwhelm
- Sand in the Eyes
- Reusable Ammunition
- Full Salvo
- Cull the Hordes
- Giant Slayer
- Iron Reflexes
- Tolerant Equipment
- Goring
- Blurred Motion
- Vaal Pact
The idea behind this Passive Tree setup is to buff our Crossbow damage as much as possible while getting survivability from Armour and Life Leech. Use the search bar in the game’s Passive Tree window to search for these notable skills. Get them in descending order. You don’t necessarily need to use Weapon Set Passives for this either.
Since we’re taking Run and Gun, Spray and Pray, make sure you’re always moving. Don’t forget to swap ammo types every 10 seconds too, so you can keep Full Salvo’s buff up all the time.
Equipment

Use the strongest Physical damage Crossbow you can. Try to look for one with at least the following modifiers:
- Increased Physical damage
- Mana Leech
- Levels to All Projectile Skills
- Accuracy Rating
As for defensive gear, this build uses pure Armour for maximum damage reduction. This lets us tank incoming hits, giving our Life Leech the opportunity to shine. The only piece of non-Armour based gear on you should be  Myris Uxor, a helmet that will greatly increase our Culling Strike threshold.
Grab as much Life and resistances as you can, and make sure you have armor pieces with the modifier that lets Armour apply to Elemental hits. Use Runes to compensate for any holes you have in your elemental resistances, and make sure to have at least some Chaos Resistance as well.
Use Thawing and Stone Charms so you don’t get Frozen or Stunned. Staunching Charms help mitigate Bleed damage too, though that shouldn’t be an issue as long as you have enough Life Leech.