How to Complete Veilwater Basin Ancient Spire in Enshrouded
The Veilwater Basin is the newest biome added in Enshrouded’s Wake of the Water Update. Like every other biome, Veilwater Basin comes with its own Ancient Spire. This is an essential landmark you will need to scale and activate. This detailed guide takes you through the entire ascent, floor by floor, showing you exactly how to overcome each challenge, unlock every door puzzle, and reach chests within the spire in Enshrouded.

Enshrouded: Where to Find Paper Reed
Paper Reed is one of the many resources added to Enshrouded with the Wake of the Water update. Here’s how to find them.
How to Prepare for the Veilwater Basin Ancient Spire

The Ancient Spire in the Veilwater Basin is unique due to its high-level zone (enemies are around level 35-45), tricky puzzles, and especially the underwater sections. The basin is a water-heavy region, so you’ll need lots of healing items.
While you can clear the area without any oxygen buffs, it’ll still be a challenge. Try to take lots of oxygen-increasing foods and make sure to have plenty of Health Potions and Bandages on hand, in case you get close to drowning/take razor damage.
Where to Find the Veilwater Basin Ancient Spire
The Veilwater Basin Ancient Spire is located in the heart of the basin, near Lake Heartblood. The easiest way to begin your journey to Veilwater Basin is from the Albaneve Summits – Ancient Spire. When you’re there, look toward the southwest side of the lake. This is where the main entrance to the basin is located.
You’ll have to equip your best glider in Enshrouded, leap off the spire, and head toward the large castle built into the mountainside. Glide straight into it, and once inside, follow the path that leads deeper into the mountain. This route will take you directly to the Passageway that opens into Veilwater Basin.
The cave you’ll pass through is filled with Shroud, so make sure to bring Shroud-resistant armor and a few consumables to stay safe.
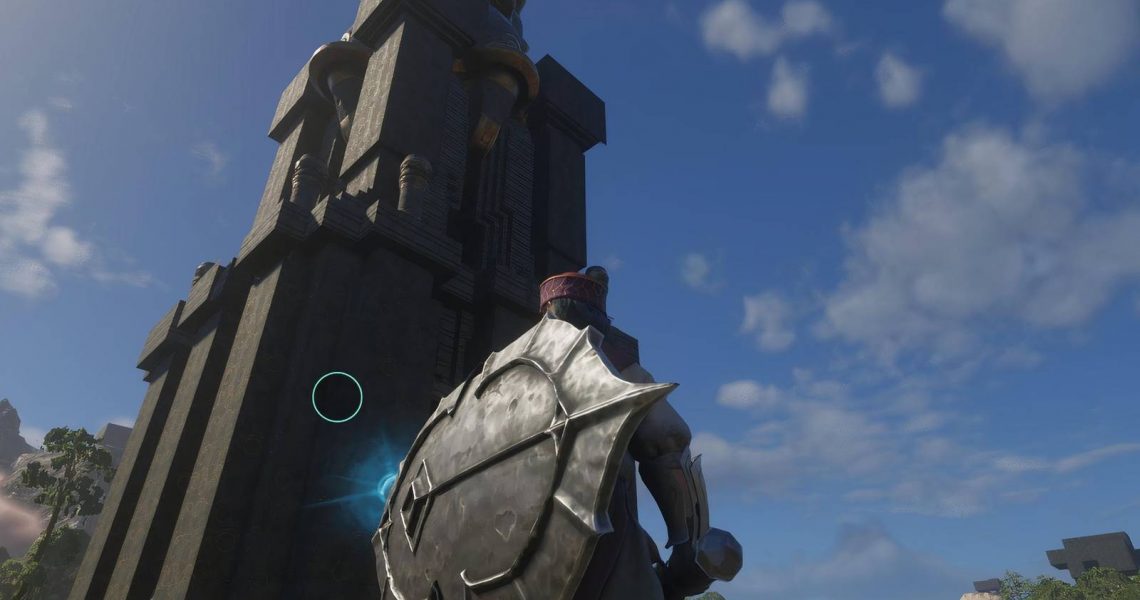
How to Enter the Veilwater Basin Ancient Spire


The Veilwater Basin Ancient Spire is a bit different from other spires, as you can’t just walk through the main entrance. To reach the first floor, you’ll need to dive deep underwater. The spire has four open entrances, one on each side, so you can approach from any direction. The Return Beacon near the central portal helps you replenish oxygen once you reach it. Once the beacon’s soft blue light comes into view, angle toward it, refill your oxygen, and step into the central portal. This teleporter will bring you safely to the first floor of the spire.
Veilwater Basin Ancient Spire – First Floor Walkthrough
The first floor of the Veilwater Basin Ancient Spire is tricky. The first thing you’ll notice is a corridor with electricity traps. You need to observe the pattern of the sparks and move carefully to avoid taking damage.
There are a few enemies scattered throughout this floor. Whenever possible, try to engage them from a distance or lure them into traps to make fights easier. After clearing this initial area, you’ll reach a room with spike traps. These spikes spring up from the floor in predictable patterns, so avoid getting hit.
Once past the spikes, head to the next door, which will take you to a metal climbing wall.
Veilwater Basin Ancient Spire – Second Floor Walkthrough
After climbing up from the first floor, you’ll find the second level is full of fire traps, enemies, and a puzzle that unlocks a silver chest. As soon as you enter, you’ll notice fireballs shooting from the walls in a pattern: one in the center and one on each side. To safely get through, you’ll need to zigzag between them. When you reach the end of the hallway, use a double jump or a short glide to clear the last few feet safely.
Once past the fireballs, look to the right. You’ll enter a room with a locked door. To open this door, you need to solve a lever puzzle. Before that, you need to take down some enemies. There are a few enemies patrolling this area, you’ll need to finish them off first. With the area clear, you can safely interact with the Lever Puzzle.

To unlock the door on the second floor, the levers must match the pattern indicated by the golden bricks above them. Only the levers corresponding to the filled brick positions should be turned on, while all others remain off. Once this pattern is set correctly, the door will unlock immediately, and you can continue your journey.
Veilwater Basin Ancient Spire – Third Floor Walkthrough
After climbing to the third floor of the Veilwater Basin Ancient Spire, head north and carefully cross the first set of spikes. On your right, you’ll notice a climbable grate, but don’t go there just yet. First, you need to find the three hidden buttons.
- The first button is found at the far end of the corridor. Move toward the west from the corridor’s end, keeping an eye on the hazards along the way. Once you’ve pressed the button, return to the path and continue navigating past the spikes.
- The second button lies along the southwest path. Cross the spikes carefully, run toward the southern end, then bend west again to find the button. Timing your jumps and glides is crucial to avoid damage from the traps scattered across the floor.
- The third and final button is located in a room with active electricity traps. Look for an alcove in the southwest of this room, and press the button there.
Once all three buttons are activated, go back to the metal grate and follow the path. Take a left around the corner. Next, you’ll need to jump and swing across the gap to reach the top level. Here, you’ll face a set of swinging axes. Wait for the axe to swing completely to the left.
Then, once it’s moving left and the path is clear, double jump to the platform on the right. You can see that the final door is open in the distance. There is a swing in the middle, but you will probably have to fly a little to get through the door.
Veilwater Basin Ancient Spire – Fourth Floor Walkthrough
This is the final level of the Veilwater Basin Ancient Spire. When you reach the fourth floor, start by going through the door on the southeast side. This takes you into a long corridor. You’ll notice another door on the southwest as you walk. Mark it for later.
For now, continue heading east. You’ll reach an area where the path splits: a staircase leading upward to the south, and a corridor to the east containing an electricity trap. Go toward the electricity trap first. Stay close to the north wall to avoid getting hit, then turn right. Step on the floor button to open the door ahead. You’ll see a spinning spike trap in the distance. Shoot a ranged attack through the spinning spikes to hit a button on the far side. This opens a door above.

Now return to the stairs at the south and climb up. You’ll reach another set of stairs; both will lead to the same upper platform. At the top, you’ll see two doors on the northern wall. The most important thing here is the pool of water in front of them.
The button that opens these doors is deep underwater. You’ll need to dive all the way down through a long, winding, linear tunnel. You can complete the dive with normal oxygen (around 30 seconds), but it’ll take a few tries to learn the route. Swim down quickly and avoid the blades on the way. Press the button at the bottom to refill your oxygen.
Doing so also turns on the rotating blades, so be careful on your way back. If you die, you’ll respawn safely at the beginning, and your items will be waiting at the water’s edge.
Pressing that underwater button also unlocks the southwest door you passed earlier. Go back down the stairs, head west, and enter that newly opened room. Inside is another button. Pressing it unlocks a second underwater door.
Return to the water and dive again. This time, you’ll see a new northern passage open. Swim through it, dodge the blades, and you’ll find a Golden Chest at the end. Grab your loot and swim back up.

When you’re ready, head through the now-unlocked doors at the top of the stairs and commune with the flame to complete the spire and earn the Veilwater Basin Stargazer achievement.


- Released
-
January 24, 2024
- Developer(s)
-
Keen Games
- Publisher(s)
-
Keen Games