After 540 Hours in Baldur’s Gate 3, Here’s How I Always Handle the Blood of Lathander
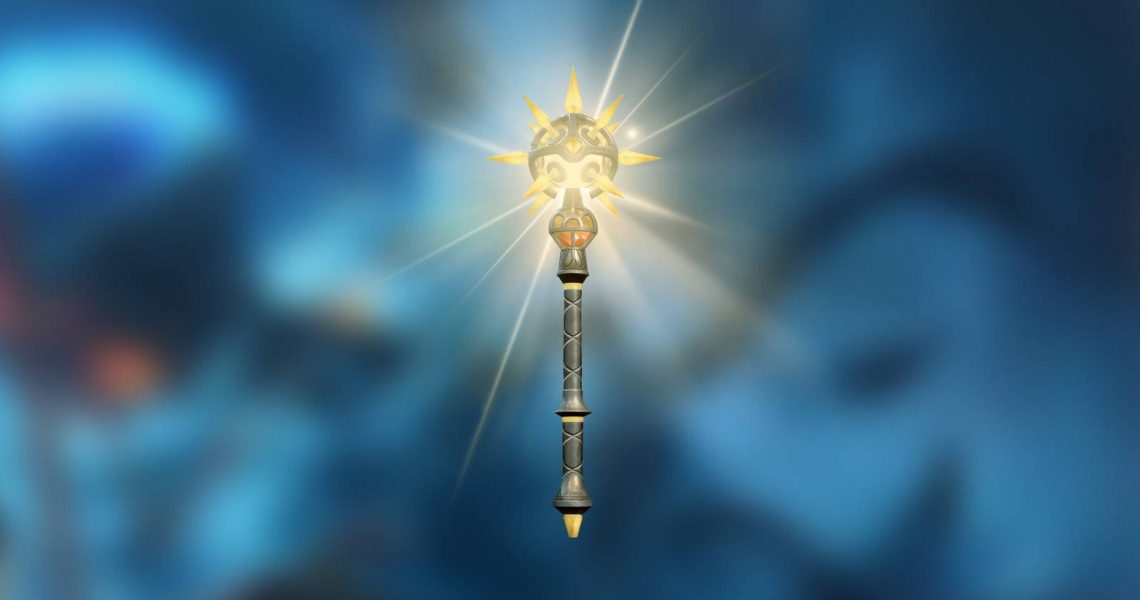
One of the many wonderful things about Baldur’s Gate 3 is that it doesn’t limit all of its best weapons and gear to late-game locations. One such example is the Blood of Lathander, a legendary mace hidden within a temple of the Morninglord. The mace is guarded by puzzles and traps, with multiple ways for Baldur’s Gate 3 players to obtain it. I’ve played through Baldur’s Gate 3 several times, and never miss out on the Blood of Lathander — and always use a specific strategy to claim it.
There are a lot of ways to handle this, and my way is by no means the definitive strategy. It’s far from the most efficient and skips a few steps in the middle.
I Handle All My Other Monastery Business First

Rosymorn Monastery, where the Blood of Lathander is hidden, has been taken over by a githyanki creche that companion Lae’zel wants to visit as a possible source of tadpole removal. Other encounters in the Monastery include drunk kobolds and giant eagles on the roof. I generally make my way through the Monastery and handle all of these interactions first before claiming the Blood of Lathander. My order of operations is usually kobolds, then gremishka den, then roof, then all other rooms, then creche, especially if it lets me grab another level before facing the gith — they’re notoriously tough.
While this is not the required order, I like having the option to claim the Blood the destructive way. This involves blowing up the monastery and permanently locks you out of the creche, rooftop, and kobold encounters. Thus, I make grabbing the Blood of Lathander the very last thing I do. On Honor Mode, which I haven’t attempted yet, I think I would change the order around and get the mace first, because it would make a powerful weapon to use against tons of hostile githyanki.
Some Weapons I Grab, Some I Skip

Finding the Dawnmaster’s Crest, the relic needed to unlock the Blood of Lathander, involves locating a Ceremonial Warhammer, Mace, and Battleaxe hidden around the Monastery. Here’s how I handle them:
- I always pick up the Mace, because it’s in the possession of a Kobold Looter, and I naturally acquire it while clearing out Kobolds for some quick pre-creche EXP.
- I skip the Battleaxe, which involves fighting a high-AC Guardian of Faith. It’s a worthwhile fight if you want to pick up some EXP, but you can also substitute a standard Battleaxe, and the room where the Guardian lurks can be tricky to get into, so I avoid it.
- Whether I visit the eagles on the roof for the Ceremonial Warhammer depends on whether I have a character with a stealth-focused build that can sneak past the eagles and steal it. Although using Speak With Animals reveals that the eagles are total snobs and rather rude, I still hate killing animals and try to avoid this combat if at all possible.
Solve The Puzzle — But Then Let The Monastery Explode Anyway

I always grab the Dawnmaster’s Crest from the room on the monastery’s upper floor by placing the weapons (Ceremonial or generic stand-ins) on the correct plinths. The experience it gives isn’t huge, but every bit counts this early in the game, so it’s worth it to me.
Entering the secret chamber via the githyanki creche and passing through the puzzles here is a non-optional step. I always make sure to have a Grease spell or two prepared, because you have to move heavy statues, and even the strong Karlach or Lae’zel can potentially fail the required Athletics check.
Then, when the Dawnbreaker is shooting at me and I need to disarm its energy sources, I don’t worry about navigating the tricky path and using Sleight of Hand. Magic Missile can destroy the energy generators from a distance, and there’s much less risk of a stray pulse knocking you into the abyss.
I Do It All For Some Of My Favorite Dialogue In The Game

Finally, when I arrive at the Blood of Lathander’s location, I don’t use the Dawnmaster’s Crest I collected to safely free it from its forcefield. Instead, I have a party member — specifically Astarion — grab the mace and get trapped in the forcefield while the others and I escape from the creche.
I have two reasons for handling things in the destructive rather than the “correct” way. One, I find the challenge of escaping from the exploding Monastery in a mere four turns to be fun. It’s tense, easy to screw up if you don’t have access to spells like Misty Step or Dimension Door, and it sets my heart racing. The first time I played through this section, I forgot to stand up and take breaks, drink water, or even breathe regularly until I had gotten everyone out safely.

Well, everyone except Astarion. If you leave the vampire spawn rogue specifically behind, and allow him to explode alongside the monastery, he has some choice words for you once you have Withers bring him back. Exasperated and incredulous, he demands to know what you were thinking, stating that he was “RIGHT THERE.” If you point out that he’s no longer affected by sunlight, he shouts that there’s a limit — “somewhere between a nice summer’s day and the FULL, CONCENTRATED POWER OF THE SUN.”
This is my favorite piece of rare, hidden dialogue in the entire game. It’s one of the first times you see Astarion’s cool early-game facade crack, and the lines — which include a possible reference to the film Megamind, of all things — are hilarious and memorable. Plus, when I first met Astarion’s actor Neil Newbon and told him I was playing Baldur’s Gate 3, the first thing out of his mouth was “have you seen the ‘power of the sun’ scene?”
So I’ll explode the monastery every single time I play because that one bit of dialogue is worth it for me — especially because you do still wind up laying claim to the Blood of Lathander in the end. Maybe when I try Honor Mode I’ll do things differently, but, for now, this is what works for me.

- Released
-
August 3, 2023
- ESRB
-
M for Mature: Blood and Gore, Partial Nudity, Sexual Content, Strong Language, Violence