All Coppergold Hollow Dungeon Chest Locations in Where Winds Meet
Coppergold Hollow is one of the early Divinecraft Dungeons you’ll face in Where Winds Meet. It’s a great introduction to puzzle-style Mystic Arts challenges. These dungeons test your ability to read patterns, time your actions, and use Meridian Touch correctly. Coppergold Hollow focuses entirely on rotating statue puzzles, and your goal in every room is simple: match each rotating statue to the fixed one nearby. Even though the Coppergold Hollow dungeon is pretty short in Where Winds Meet, it still requires patience and quick reflexes, especially during the final section.

All Free Outfits & How To Get Them In Where Winds Meet
Unlock free outfits and hairstyles by completing quests and playing online in Where Winds Meet.
Coppergold Hollow Location in Where Winds Meet

Coppergold Hollow can be found in Sundara Land, Qinghe, sitting between Halo Peak and Thousand-Buddha Village. You can find the entrance near the Thousand-Buddha Vale Boundary Stone (slightly southwest) and Path of Void Boundary Stone in Halo Peak (north of this point).
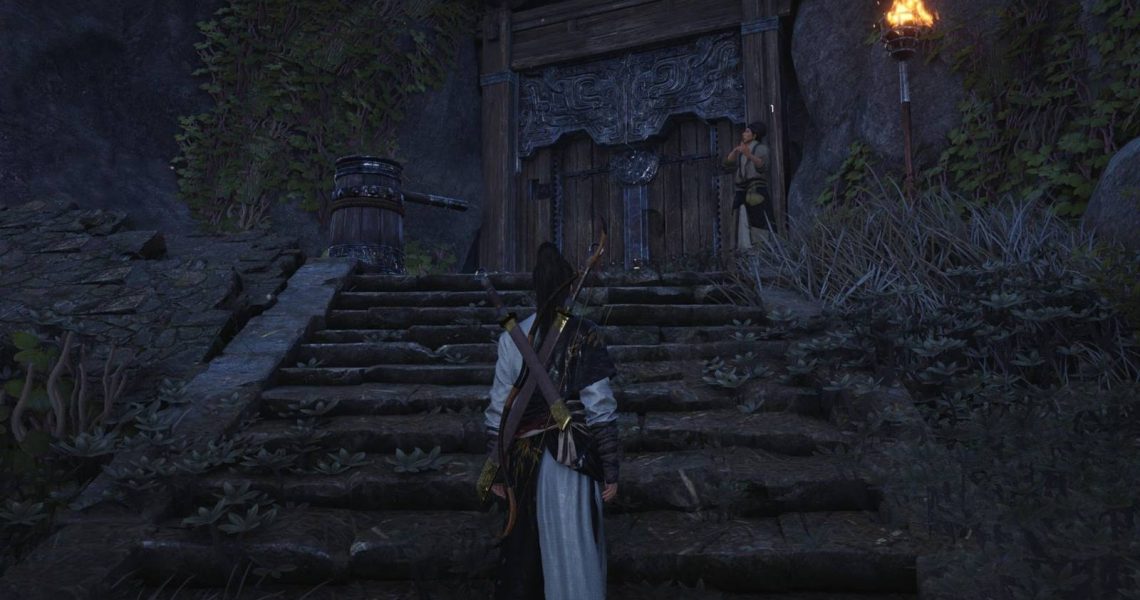
Once you arrive, head up the stone stairs toward the large sealed door. A rotating lever sits outside. You can use it to open the entrance.
Coppergold Hollow Room #1
The first room in Coppergold Hollow features a single statue puzzle. It introduces the basic mechanic of matching poses. Here’s how to solve this puzzle:
- Stand on the golden gear plate.
- The left statue begins rotating, while the right statue stays still.
- When the left statue faces the exact same direction as the right one, use Meridian Touch to freeze it in place.
- The door ahead will open immediately.
Coppergold Hollow Room #2
This room has upper and lower levels, and two puzzles in total. It’s a good idea to start with the lower level first.
Puzzle 1 – Lower Level

Here, you’ll find another golden plate that controls two statues positioned across from one another. When you step onto the plate, both statues rotate together. You need to freeze them at the exact moment they are facing each other. When you do this correctly, a door behind you opens, giving you access to the first chest.
Puzzle 2 – Upper Level

After collecting the first chest, go to the upper level where you’ll see the lower statues have reset to their original positions. This time, stepping on the upper plate causes the top pair of statues to rotate.
You have to match both of these to the poses of the statues below. When the bottom pair’s orientation is clear, adjust the upper statues so they mirror them precisely using Meridian Touch. Matching both will open the door to the next room.
Coppergold Hollow Room #3
The final chamber is the most time-sensitive and is divided into three small puzzle sections. First, focus on the northwest and southeast corners. Each corner contains a rotating statue you can control and another fixed statue behind a locked gate.
To open the side chests, simply rotate each controllable statue until it matches the stationary figure behind the gate. Doing this in the northwest corner unlocks the second chest, and repeating the process in the southeast corner unlocks the third one.

Once both optional rooms are cleared, reset any frozen statues and prepare for the final challenge that involves all four rotating statues. Here, each rotating statue must be adjusted so it mirrors the fixed statue directly behind it. If you take too long, your earlier frozen statues may unfreeze.
The easiest way to solve this puzzle is to move in a counterclockwise pattern, quickly locking each statue into place until all four match their counterparts.
When all statues align correctly, the final door slides open, revealing the last chest and completing Coppergold Hollow Dungeon in Where Winds Meet.

- Released
-
November 14, 2025
- ESRB
-
Teen / Use of Alcohol, Violence, In-Game Purchases (Includes Random Items), Users Interact
- Developer(s)
-
Everstone Studios
- Publisher(s)
-
NetEase, Inc.