How to Complete the Aharon Hub in Viewfinder
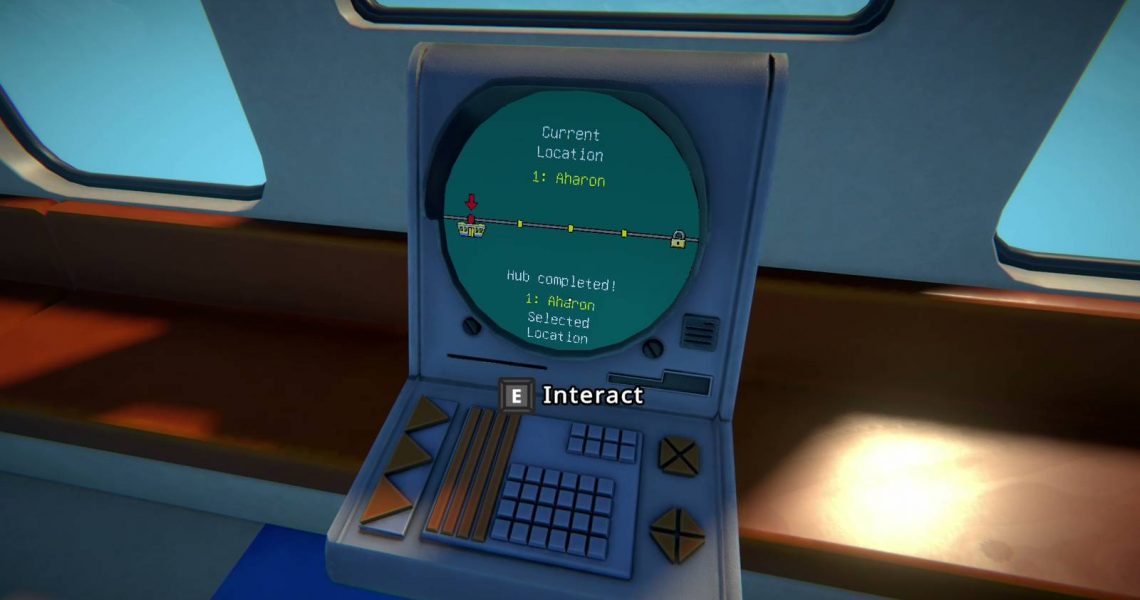
The first hub that players will explore in Viewfinder is the Aharon hub, which features three main teleporters, mandatory to complete the story of the game, and an optional teleporter with more puzzles.

Viewfinder: How to Save
This guide helps players who are confused about how Viewfinder’s saving system works.
This guide will walk players through every level in Viewfinder Chapter 1. It should take gamers 20 to 30 minutes to get through this first hub, as it is an introduction to some of the mechanics that they will have to play with in Viewfinder.
Viewfinder Chapter 1, Teleporter 1
The first teleporter features Level 1.1, 1.2, and 1.3. These levels will introduce players to key mechanics in the game, so it is important that they pay close attention.
Level 1.1
After going through the first teleporter, players have to go into the house and walk downstairs onto the patio. They will notice a table and a board in the middle of the patio, which they must reach it.
Their instincts will tell them to walk over the bridge in the middle, but it will break, causing them to fall down the hole. Here, the game will introduce them to the rewind mechanic. They have to rewind and go over one of the two other bridges instead. Next, they have to go grab the picture pinned to the board, place it in space, and go through it.
Level 1.2
While reaching the teleporter is sometimes the only challenge in Viewfinder puzzles, they might have to power them in some situations. One of the ways players have to power teleporters in Viewfinder is with a battery.
In Level 1.2, gamers have to find two batteries to get the teleporter going. There is one battery on the room adjacent to the teleporter room, and there is also a board with a picture in that same room. Players must place the picture, go into it, and grab the black-and-white battery. Once both batteries have been placing on the teleporter charging platformer, they’ll be able to interact with it and move onto the next level.
Level 1.3
Many puzzles in Viewfinder require players to rotate pictures before placing them. This is what they must do in order to gain access to the teleporter and battery in Level 1.3. Gamers must first grab the teleporter image on the board, rotate it 180º so it is in an upright position.
Then, they have to walk inside the picture, grab the next photograph from the board, and rotate it slightly so they’re able to reach the battery without it falling off the platform. They have to grab ahold of the battery and bring it to the location of the teleporter so they can turn it on and use it.
Viewfinder Chapter 1, Teleporter 2
After completing Level 1.3, players will return to the hub. They have to turn right and go up the stairs to find the second teleporter.
Level 2.1
Once inside Level 2.1, players have go right, as there is a picture of a bridge waiting for them on a small table. They must use the photo to create a passage to reach the platform on the other side. After going over the bridge, they will find another picture on a table. They must use it to get rid of the gate blocking their way.
The teleporter is on top of a structure beyond the gate. They have to rotate the picture of the building and place it sideways to make a ramp to get them to the top and reach the teleporter.
Level 2.2
To get through Level 2.2, players will have to find two batteries. There are two inaccessible areas in this level, but players can get through them by using two of the three photos of the sky tapped to the board. Placing a picture of the environment in front of a wall will destroy a section of it, which is how players will be able to get inside these areas.
The battery in the gated area is easier to reach, since players know where it’s okay to place the picture without destroying it. The other battery, however, is completely walled in, so players might accidentally destroy it. If that’s the case, they can simply rewind and place the photo once again.
Level 2.3
The photo on the board contains the same image, over and over again, and players must keep using these images to get closer to the teleporter – essentially building a makeshift bridge.
The images will glitch out as players continue to place them. Eventually, they will be sent back to a server room. They must fix the error in the simulation so they can return to Level 2.3 and go on with what they were doing. Players can deal with the issue by pressing the red buttons and turning them green.
If players return to Level 2.3 to re-do it, they won’t have to go through this part of the story. Since the simulation is now fixed, they won’t encounter any issues or errors.
Level 2.4

Players will have to go down a corridor and reach an easel with a painting. They have to place it and keep moving until they find the next piece of art. It’ll be located on another easel at the top of the stairs.
The second picture will take them to a lovely and picturesque garden. They must go down the stone path and enter the gazebo to find the next artwork, which will take them to a road in the middle of the desert. Behind the large rock, they will find a drawing of a house. Upon entering the house, they will find an image of a pixel-art dungeon on the table.
They must go through the dungeon until they find an exit. Once outside, they have to turn left to find the chain on the wall and pull it, setting down the bridge. On the other side, they will find a final image, which will give them access to the teleporter that will bring them back to the hub.
Viewfinder Chapter 1, Teleporter 3
On the other side of the second floor, players will find the third mandatory teleporter.
Level 3.1

When players first enter Level 3.1, they might feel tempted to put down the photograph right away. However, they will have to rewind if they do this, as they need to photocopy it in the room downstairs. After photocopying the image, they must place the two photos down and grab the batteries to power up the teleporter.
Level 3.2
Next, players will have to once again photocopy the image in the room using the photocopier in the back. One of the pictures must be placed to create a bridge, connecting the two platforms. The other picture has be rotated and placed so that the top of the stairs on the other platform, so that players are able to reach the teleporter.
Viewfinder Chapter 1, Optional Levels
The final teleporter is optional, so players don’t have to complete these levels to finish the story of Viewfinder. For those who want to give them a try, they will find the teleporter in the bathroom, located on the ground floor.

Firstly, players will have to walk down the stairs and grab the picture on the small table next to the couch. They must turn it so that the leaves are covering the floor and the grass is on the right side wall. They have to walk inside and let themselves fall down at the end of the corridor.
Here, they will stumble upon a picture with two tables, one of them upside down. There are two photos in this picture, and gamers must put it in a certain position according to where they would like to go.
To grab the Duck collectible, they have to turn it so that the table with the mountain view is on the left. The photo on top of the table will lead them to a maze, and they will find a Duck collectible at the end of it.
They can then rewind and go back to the same picture. If they turn it so the table with the mountain view is upside down on the right, they will find a picture of another table on it. They have to grab it, turn it so the pencil brush is on the floor, and then enter the image. On the right, they will see the final image.
They must look down, place it, and then jump inside, onto the teleporter. This will conclude the final level in Viewfinder Chapter 1. Below, players can check out a full video walkthrough of the Aharon hub.

- Released
-
July 18, 2023
- ESRB
-
E For Everyone // Mild Language
- Developer(s)
-
Sad Owl Studios
- Publisher(s)
-
Thunderful Publishing