All Ol’ Tessie Upgrades in Black Ops 7 Zombies
Ol’ Tessie acts as a wonderful vehicle in Black Ops 7 Zombies, and some might even say it’s a Wonder Vehicle! Ol’ Tessie is the safest and fastest way that you can navigate through the Dark Aether, as going on foot between zones is a recipe for disaster, and death will surely follow quickly behind. While Ol’ Tessie is fun to drive, she can actually be upgraded with a variety of parts to make her stronger, more defendable, and faster. If you’re looking for all Ol’ Tessie upgrades in Black Ops 7 Zombies‘ Ashes of the Damned map, then we’ve got you covered. Below, you can find step-by-step instructions for each individual upgrade to Ol’ Tessie, alongside what they do to benefit your game.
How to Get Ol’ Tessie in BO7 Zombies
To start upgrading Ol’ Tessie, you’re actually going to need to acquire her in the first place. To get Ol’ Tessie, you’re going to want to start at Janus Towers Plaza, the spawn area of Ashes of the Damned. Within the Server Room at the south of this location, you will find a grate on the floor that can be hit with a melee strike to reveal T.E.D.D.’s Head. With T.E.D.D. acquired, head to the disabled truck just outside the Server Room and interact with it to place T.E.D.D.’s Head inside, which will now allow you to drive Ol’ Tessie.
How to Get the Pack-a-Punch & Rocket Boost Upgrade in BO7 Zombies
The first major upgrade to Ol’ Tessie can be acquired once players have completed a Power Pump at Vandorn Farm (east of Janus Tower Plaza) or Blackwater Lake (west of Janus Tower Plaza). Doing either of these Power Pumps will activate the gate that takes you to Ashwood, which also has a Power Pump you need to complete. Once you’ve completed this Power Pump at the Ashwood Bridge, you can return to the bottom of Ashwood to drive Ol’ Tessie into the garage. In the west corner, you can interact with the Pack-a-Punch machine to upgrade Ol’ Tessie. With the Pack-a-Punch upgrade, you can now Pack-a-Punch your weapons by looking at the rear end of Ol’ Tessie. You can also use L3 to boost in the Wonder Vehicle, which removes zombies from your car, and allows you to reach faster speeds, even if it does have a moderate recharge.
How to Get the Abomination Carcass in BO7 Zombies
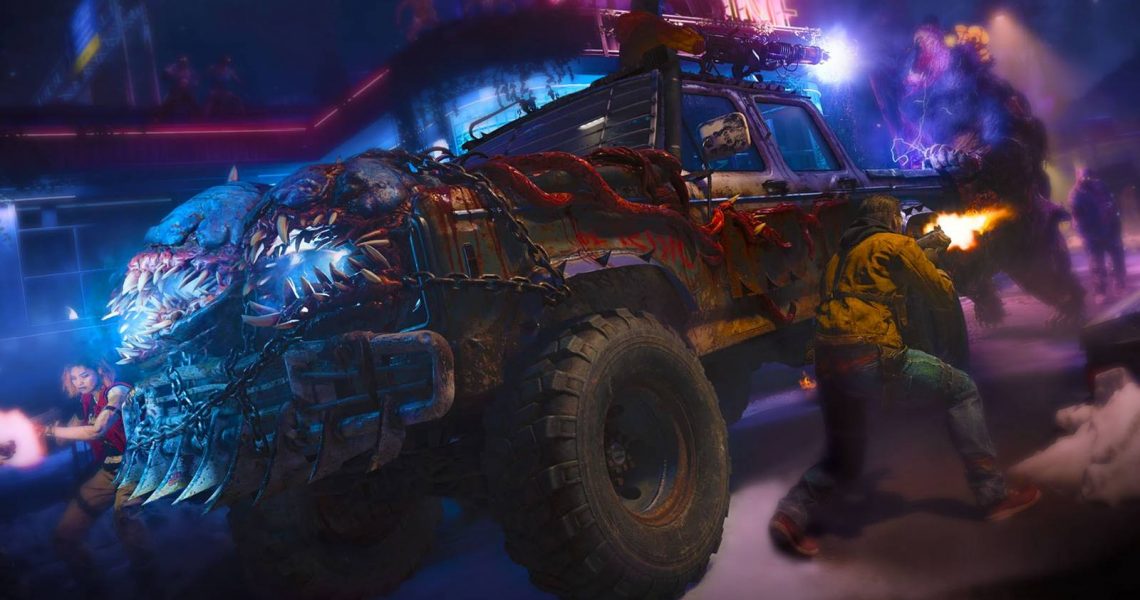
In order to get the Abomination Heads upgrade, you will need to travel to Reba’s Diner at Exit 115. Exit 115 can be found by taking Ol’ Tessie through the southwest gate in Ashwood. Once you’ve arrived, enter Reba’s Diner and wait around for a special zombie to spawn, called Chef. After killing the Chef zombie, you can pick up the Freezer Key, and now you can take it to the southwest wall and interact with the freezer door to open it. Inside, you’ll find the Abomination Heads that you can pick up and take back to Ashwood’s garage. Now, interact with the hanging Abomination Heads on the wall of the garage to upgrade Ol’ Tessie. With the Abomination Heads upgrade, you’ll be able to use R1 to shoot Abomination Beams, which kill anything in your path, which is very useful when crossing through no man’s land.
How to Get the Wunderwaffe Turret in BO7 Zombies
The Mounted Wunderwaffe is the hardest upgrade to get, specifically because there are so many items you need to get, including one that’s locked until Round 16, as you need to kill Zursa the Elite Enemy in a specific way. Most importantly, you need to have acquired the Necrofluid Gauntlet. The Necrofluid has an entire quest to unlock it, and we’ve covered it extensively here for you so that you can grab it. Click here for a step-by-step of how to get the Necrofluid Gauntlet!
Now, it’s time to collect all Serum parts, which we’ve added in brief below:
- Ravager Eyes: Acquired by killing a Ravager with the Saw Blade Trap, found easily at Vandorn Farm

- Human Bones: Acquired by throwing a Combat Axe at the hanging corpse’s right foot in the middle of the Barn in the Farm, then by throwing a Molotov at the foot on the ground
- Mysterious Limb: Acquired by killing a Zursa zombie bear with the Abomination Heads Beam Attack

- Hoard Husk Chunks: Acquired by using the Abomination Beam Attack on the glowing purple plants found randomly throughout the roads that connect the locations

- Widow’s Lantern: Pick up the Jar of Spores by the south cabinet in the Cabin kitchen in Blackwater Lake, then interact with the dead horse outside Vandorn Farm and collect Widow’s Lantern from the corpse 3 rounds later
- Powder of the Forgotten: Acquire the Wisp Tea perk from Zarya Cosmodrome and once it’s active, take it to the mirror found in the Tailor Shop in the east room of Ashwood, then shoot the mirror with the Necrofluid Gauntlet

With the Serum parts acquired, head to Yuri’s Lab in the southwest room of Zarya Cosmodrome. On the table will be powder (5th bowl to the right). Interact with this powder to begin, and it will puff up in smoke and reveal 3 symbols on the chalkboard. Players must now interact with 3 ingredients on the table in the order that they appear on the chalkboard, and this is very easy to follow by looking at the first symbol:
- > – Human Bones (1st bowl)
- L – Hoard Husk Chunks (2nd bowl)
- C – Widow’s Lantern (3rd bowl)
- C. – Ravager Eyes (4th bowl)
- Ignore 5th bowl
- L. – Mysterious Limb (6th bowl)
After interacting with the correct 3 ingredients, the smoke from the chemistry kit will now be red, and you can interact with it to add blood as the final ingredient, thus trapping you in the room. This is a lockdown where you must kill all the zombies, so use your Necrofluid Gauntlet, as you will not heal without it (fire then reload). After, you will notice a clock tower floating above Ashwood, and in the upper west area in Rabbit Alley, a locked box. We need to open the box, and here’s how:
Now that you have acquired the Ashes of the Damned’s Wonder Weapon, you will need to locate three distinct keys that can be found within the in-between roads that connect to Ashwood. You will need to shoot the key with the Necrofluid Gauntlet, then reload to pull it to the ground. Each of these roads will have a distinct key to obtain. These keys are extremely hard to see, so you’ll need to look around carefully and backtrack to make sure it’s not where it should be, as each key has 3 locations. You can grab the key only by shooting and reloading the Necrofluid Gauntlet at it, and upon grabbing the key, you will have a unique effect that requires you to return to the locked box in Ashwood and interact with it to loosen the chains. Here’s each of the keys and where to get them:
-
Bruin Key (Yellow Key) is found on Crashed Rocket road, from Ashwood to Zarya Cosmodrome, and forces you to equip your knife when picked up:
- Near the edge of the cliff, close to Ashwood, by the burning vehicle
- Inside the crashed pylon
- On top of the array building to the southwest
-
Nightbird Key (Red Key) is found in the Orda Graveyard, from Ashwood to Exit 115, and you cannot regen health while holding the key:
- at the back of the dinosaur skull on the ground
- In the mouth of the dinosaur skull on the cliff
- Behind a car in the snow near Exit 115
-
Terrapin Key (Green Key) is found in the Grounded Ship from Ashwood to Vandorn Farm, and picking up the key disables sprint:
- Inside the zombie barrier on top of the ship, when facing southwest
- In the corner of an opening blue shipping container at the back of the ship
- Underneath the ship at the back between two barrels
After you have successfully found all 3 keys and placed them individually in the box at Ashwood, you will immediately play a cutscene. After the cutscene, the floating DG-2 Turret Barrel can be picked up and now upgraded onto Ol’ Tessie by entering the garage’s workshop at Ashwood.
The Mounted Turret will shoot automatically if you’re driving it with nobody else inside, and it won’t kill the last zombie.
How to Repair and Fix Ol’ Tessie in Black Ops 7 Zombies

Another essential feature of Ol’ Tessie is the ability to repair her, as she’s going to get pretty beat up in Ashes of the Damned, and you’re going to want to patch her up so that you’re not stranded in the middle of no man’s land with those ravenous zombies after you. To ensure Ol’ Tessie never dies, you can drive into green Dark Aether plants found between the roads to be healed. These plants reward Essence, Salvage, and health for Ol’ Tessie. On top of that, Ol’ Tessie will repair itself when you’re not inside it, so park it up somewhere safe and let it recharge. If Ol’ Tessie is destroyed, just wait until the next round for it to be fixed. Alternatively, you can drive it into the garage at Ashwood and place it on the central pad to allow it to heal faster. If Ol’ Tessie is lost or beaten up, you can summon a new one at the Ashwood garage for 1,000 Essence, or you can teleport directly inside for 500 Essence.

- Released
-
November 14, 2025
- ESRB
-
Mature 17+ / Blood and Gore, Intense Violence, Strong Language, Suggestive Themes, Use of Drugs