Dreglord Boss Guide in Elden Ring Nightreign
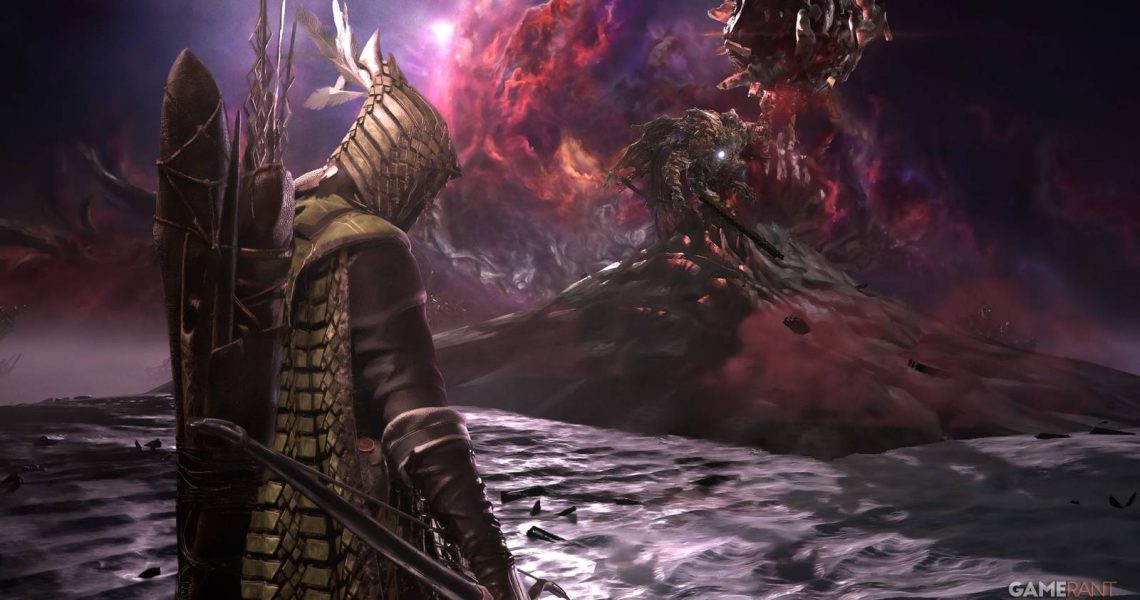
Dreglord is the final DLC expedition in Elden Ring Nightreign, and one that might be challenging for a lot of players. Since the game does not mention the boss having any weaknesses whatsoever, coming up with a strategy against him can be difficult.
Despite having an introductory fight with the Dreglord at the start of the DLC, the actual fight is very different. Players will need to beat the Balancers to unlock this expedition. Here is everything players need to know about the boss’s attacks, how to beat it, and the rewards associated with it in Elden Ring Nightreign.

How to Find the Secret of The Great Hollow in Elden Ring Nightreign
Here is how to find the crystals to resonate with to get the Power of the Great Hollow in Elden Ring Nightreign.
Dreglord Overview in Elden Ring Nightreign

|
Attack |
Image |
Description |
|---|---|---|
|
Phase 1 (Traitorous Straghess) |
||
|
Corpse Slam |

|
Dreglord conjures a ball made out of bones and corpse flesh that is radiating with Rot and slams it at the player two times. |
|
Sweeping Combo |

|
The boss uses its weapon to perform multiple wide swings. |
|
Rot from Above |

|
Dreglord slams the ground and starts channeling Rot from the ground below him, forming a large ball of flesh and bones above it. It then explodes the ball, which covers a large area in Rot and also deals damage. |
|
Summon |

|
Traitorous Straghess passively summons Corpses or Wormfaces to fight alongside it, and these can also inflict Rot on the player. |
|
Phase 2 (Pure Impulse Straghess) |
||
|
Rotten Scream |

|
At the start of the second phase, the boss screams multiple times, and every time, the player will be interrupted. The ground below the player will form a small Rot puddle that erupts, dealing damage and Rot buildup. |
|
Empowered Combo |

|
Pure Imulse Straghess enhances its sweeping combo by leaping up in the air and slamming down a corpse ball onto the ground, which causes multiple Rot puddles to erupt around the area. |
|
Rot Throw |

|
The boss throws small Rot projectiles at the player, which deal damage and inflict Rot buildup. The boss can include this attack in the Empowered Combo. |
|
Pillar Leap |

|
Straghess will jump up onto a pillar that forms behind it, then leap to the other pillar, and then do it again in attempts to damage you during the flight animation. |
|
Pillar Dive |

|
Dreglord lets out a scream, causing large pillars to appear around it, and also changes the music. it then starts to leap from one pillar to the other before finally slamming down a corpse ball onto the ground, which has a slightly delayed explosion. |
Dreglord Weakness in Elden Ring Nightreign

When it comes down to having an obvious weakness, the Dreglord has none. As his description states that it is an obsessive mound of flesh, unlike any form of life ever to exist. However, this does not mean that the boss does not take extra damage from any sources. Resistances like Rot and Poison are off the table, and so is Madness. Bleed, Frost, and Sleep are good options, but will take some time to proc.
When it comes to elemental negation, Holy and Fire are the best options to go for. Fire weapons are very easy to come by in most expeditions, so that should not pose much of a problem. You can also run the Crater Shifting Earth in the hope of getting high-rarity fire weapons for all Nightfarers and even upgrading the weapons to legendary.
Lightning is a bad option to go for this fight, as the boss is strong against it.
Players can bring Fire/Holy Pots and Grease to further increase the overall damage output and cause the boss to stagger multiple times. The Scholar can hold onto more of these items, so it is best that you give them any pots you find.

Elden Ring Nightreign: All Boss Weaknesses
The easiest way to know how to down each of the bosses in Elden Ring Nightreign is to make sure you have an item with its weakness on it.
How to Beat the Dreglord in Elden Ring Nightreign
Phase 1 – Traitorous Straghess

As soon as the fight starts, the boss will start with its sweeping combos and conjuring balls of corpses to slam on the ground. If it is targeting you, you should try getting used to the slightly delayed wide strikes. These attacks should not pose much problem, and you will be able to take down half of its health bar easily before it conjures a large corpse ball and causes Rot to spread everywhere. This also causes enemies to start spawning.
Targeting the enemies is not such a good idea, mainly because of their sheer numbers and how the boss will passively keep summoning them. Try to get close to the boss and deal as much damage as you can, and use your Ultimate Art now. If multiple enemies start approaching you, try to relocate away rather than fighting them because almost all of the enemies are extremely slow and cannot chase you.
You should conserve your Health Flasks for the latter half of the first phase and the second phase because taking constant damage from the Scarlet Rot is the real issue.
Phase 2 – Pure Impulse Straghess

As soon as the second phase begins, the boss will let out a roar multiple times. Your main focus during this phase is to avoid the Rot puddles at all times. These do a lot of damage to your health bar and also cause Rot to start building up. Straghess becomes much more aggressive during the second phase, bashing its weapon frequently and leaping around the arena. It also throws Rot projectiles here and there to catch you off guard, so be on the lookout for its throwing animation.
All attacks that involve the boss leaping up to the pillars are the most deadly in its arsenal. These do a lot of damage to you, and if you are not at full health already, there is a chance that getting caught by these attacks might knock you out. The boss fight is much easier in Trios, as players can lay down fire damage throughout the fight when it is not focusing them. Though the amount of Wending Graces you can get in Solos is also a good bonus, which can ensure your success against this putrid creature.
Best Dreglord Team Comps

One of the good things about this boss fight is that a lot of the Nightfarers are great to bring along for this expedition. The Undertaker’s kit is quite good because of her invulnerable enhanced character skill and multiple Ultimate Arts that can stagger. The Scholar can focus on debuffing the boss while dealing a lot of damage with his fire pots. He should also hold onto his Ultimate until the boss summons the corpses during the first phase so that the damage is shared.
Wylder is another great Nightfarer for any team composition, mainly because of his ultimate that deals fire damage, and character skill that can have a Relic, which makes the follow-up attack deal fire damage. Players who are comfortable with Ironeye can go with him as well because of his marking utility, which can allow him to get out of any dangerous boss attack. He is also a good Nightfarer when it comes to reviving allies from afar and not risking yourself.

Elden Ring Nightreign: Best Team Comps
The best team comps in Elden Ring Nightreign balance damage, utility, and ability synergies to create the most powerful parties.
Dreglord Rewards in Elden Ring Nightreign
What Do You Get For Beating the Dreglord?
Defeating the Dreglord for the first time will reward you with The Night of Dregs (Relic) that can be used on a Red Slot and has the following effects:
- Status Ailment Gauges Slowly Increase Attack Power
- Attacks Inflict Rot when Damage is Taken
- Rot in Vicinity Causes Continuous HP Recovery

- Released
-
December 4, 2025
- ESRB
-
Mature 17+ / Blood, Violence