
The dangerous ARC Machines that inhabit the Rust Belt are one of the most compelling aspects of ARC Raiders. From minor enemies like the Wasps to towering death machines like the Matriarch, there’s no shortage of threats that can shorten a raider’s time on topside. However, players can take these machines out fast, if they know exactly which weak points to target. So, here’s a complete guide on all ARC machine weaknesses in ARC Raiders.

ARC Raiders: All Blue Gate Puzzles & Solutions
Players will encounter environmental puzzles in the Blue Gate of ARC Raiders, here’s how to solve all of them and get valuable rewards.
All ARC Machine Weak Points & How to Destroy Them Fast in ARC Raiders

There are over 15 ARC machines where players will go toe-to-toe in ARC Raiders. Each enemy has a particular weak point that you can target to destroy them quickly. Some weak points are quite apparent, like a propeller or a glowing core, some are hidden, and you’ll need some combat experience to identify them.
Here’s a complete list of ARC machines, their weak points, and how players can defeat them quickly.
|
Image |
ARC Machines |
Location/Rarity |
Weak Points |
How to Destroy Fast |
|---|---|---|---|---|

|
Wasps |
Outdoors/Common |
All Four Propellers |
Simply shoot down two propellers with any type of ammo. It’ll be enough to prevent it from flying away, destroying it as it hits the ground. |

|
Hornets |
Outdoors/Common |
Two exposed propellers at the back |
The most effective weak point to target a Hornet are the two exposed/unshielded propellers at the back. Taking these two down will bring it down quickly. Alternatively, players can shoot shields off the frontal propellers with heavy ammo to take a shot at the propellers. |

|
Snitch |
Outdoors/Uncommon |
Three white propeller plates around the main body |
Players can shoot two of the three white plates with propellers inside them around a Snitch to bring it down. Make sure to do it with heavy ammo, and before it starts calling for reinforcements. |

|
Pop |
Indoors/Common |
Whole body |
A Pop can be destroyed with two-three shots of light ammo, or a single shot of medium or heavy ammo anywhere on its body. |

|
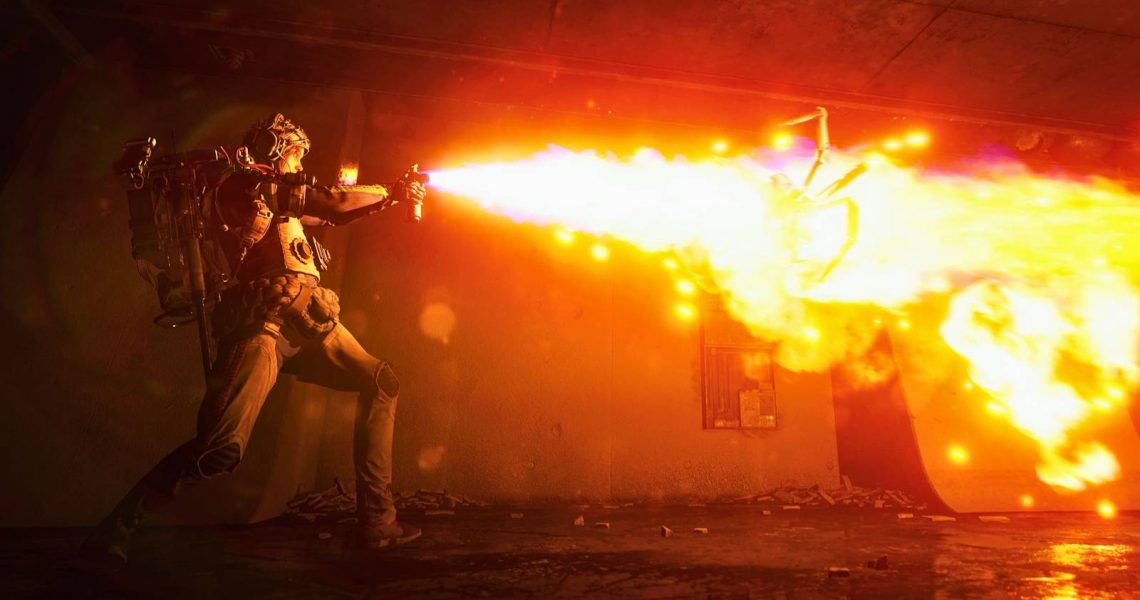
Fireball |
Indoors/Common |
Flamethrowers |
A fireball will open up once it’s close to you to damage you with fire. Make sure to shoot at its white interior to instantly destroy it. Alternatively, you can one-shot it with heavy-ammo weapons. |

|
Tick |
Indoors/Common |
Whole Body |
Shooting it with a single bullet or hitting it with a hammer will destroy a tick instantly. |

|
Turret |
Indoors/Uncommon |
Body behind the Barrel |
Taking two shots with a heavy ammo weapon will bring a Turret down quickly. |

|
Rocketeer |
Outdoors/Uncommon |
All four thrusters and the area above the eye |
Make sure to take out the armor off one of the thrusters on a Rocketeer with heavy ammo weapons, then shoot them with regular ammo to inflict full damage. Destroy at least one of the thrusters to hinder its mobility significantly. |

|
Leaper |
Outdoors/Rare |
Eye in the middle and four legs |
Players can simply shoot a Leaper’s eye with heavy ammo to remove the outer shell, and start damaging its HP. Another great, perhaps, the best method to destroy a leaper is by throwing Blaza Grendaes at it. |

|
Bastion |
Outdoors/Rare |
Yellow leg joints and the yellow canister at the back of the head. |
Players need to pick a join and shoot it with a Hullcracker until the Bastion becomes disabled for a short duration. Once it does that, go around it and shoot the yellow canister at the back of its head to inflict massive damage. |

|
Bombardier |
Outdoors/Rare |
It has similar weaknesses as the Bastion, but a little bit trickier due to Spotters triggering its mortar strike. Players having trouble with it can simply start the fight by throwing a Wolfpack. |
|

|
Sentinel |
Outdoors/Rare |
Body behind the barrel |
Taking a sentinel down is similar to a turret if shooting from afar. If close, you can throw a few explosives to quickly destroy it. |

|
Shredder |
Indoors/Stella Montis Only |
Thrusters |
Shooting at its thrusters with a heavy-ammo weapon will quickly destroy a shredder. |

|
ARC Surveyor |
Outdoors/Very Rare |
Beacon module inside |
When a Surveyor is sending its blue beacon into the sky, carefully approach it and shoot at the beacon module when it’s opened up to inflict massive damage at the start. Next, you can throw a showstopper to disable it and shoot its armor-plating with heavy ammo weapons. |

|
Queen |
Outdoors/Ultra Rare |
Legs and head |
Shoot off the armor off the Queen’s legs and then shoot to exposed skeletal structure underneath to deal high damage. There’s also a spot on the Queen’s head that you can focus your fire on to deal significant damage to its HP. |

|
Matriarch |
Outdoors/Ultra Rare |
Red core inside its head |
The main goal of the Matriarch is to expose its red core. You can do that by stripping away the two large armor plates in the front, waiting for it to unleash the force field, or simply getting atop its head and waiting for it to pop outside. Your squad should focus its fire and even try to attach a Deadline mine on this core to quickly bring the Matriarch down. |

- Released
-
October 30, 2025
- ESRB
-
Teen / Violence, Blood